
Installation
Pipeline Explorer ships as two editions — one for Visual Studio Code and one for Visual Studio. Pick the edition that matches your IDE and follow the steps below.
A single license activates both editions, so installing one does not prevent installing the other on the same machine.
Visual Studio Code
Requirements
- Visual Studio Code 1.85 or newer
- .NET 8 or .NET 10 in the target solution
- A project that references
DSoftStudio.Mediator - Windows, macOS, or Linux
Install from the Marketplace
- Open Visual Studio Code.
- Open the Extensions view (
Ctrl+Shift+Xon Windows / Linux,Cmd+Shift+Xon macOS). - Search for DSoftStudio Mediator.
- Click Install on the entry published by DSoftStudio.
Or install from the command line:
code --install-extension DSoftStudio.mediator-pipeline-explorer
Install from a .vsix file
If your environment can’t reach the Marketplace, download the latest release from the GitHub releases page and install:
code --install-extension mediator-pipeline-explorer-<target>-<version>.vsix
First launch
- A new Mediator Pipelines view appears in the Activity Bar.
- The bundled server starts automatically when you open a workspace containing a
.slnfile. - No manual server installation is required.
Verify the install
- Open a folder that contains a
.slnfile referencingDSoftStudio.Mediator. - Click the Mediator Pipelines icon in the Activity Bar.
- The tree populates with Request Pipelines, Notifications, and Streams sections.
If the tree is empty, click the Refresh button in the view’s toolbar. See Troubleshooting: empty tree if the issue persists.
Visual Studio
Requirements
- Visual Studio 2022 17.0+ or Visual Studio 2026 (Community, Professional, or Enterprise)
- .NET Framework 4.8 runtime (bundled with Visual Studio)
- .NET 8 or .NET 10 in the target solution
- A project that references
DSoftStudio.Mediator
Install from the Marketplace
- In Visual Studio, open Extensions → Manage Extensions.
- Switch to the Online tab.
- Search for DSoftStudio Mediator Pipeline Explorer.
- Click Download on the entry published by DSoftStudio.
- Close Visual Studio when prompted — the VSIX installer runs during shutdown and requires a restart.
- Reopen Visual Studio after the installer completes.
Install from a .vsix file
If your environment can’t reach the Marketplace, download the latest release from the GitHub releases page and double-click the .vsix file. The VSIX installer launches; follow the prompts and restart Visual Studio.
First launch
- After Visual Studio restarts, open a solution containing a project that references
DSoftStudio.Mediator. - Open the tool window: View → Other Windows → Mediator Pipeline Explorer.
- The tree populates automatically.
Verify the install
- Confirm the tool window shows Request Pipelines, Notifications, and Streams sections with counts that match your solution.
- Click any request pipeline node — the detail panel on the right should display the handler, behaviors, and call sites.
If the tree is empty, click Refresh in the toolbar. See Troubleshooting: empty tree if the issue persists.
Activate your license
Pipeline Explorer’s commercial features — Visualizer, Analyzers, Profiling, and the Visual Studio integration — require a subscription. When they’re locked, your code still compiles and runs on the MIT-licensed core.
During the launch window, DSoftStudio offers a free access period (currently 90 days, no payment method required) that unlocks the commercial features automatically — you just agree to the Terms of Service.
To continue afterwards, choose a plan on the Pricing page. Checkout — and the optional 14-day paid-subscription trial — is handled by our payment provider, Paddle, under the Terms of Service. Once subscribed, you receive a .dslic license file by email; it’s also available in the customer portal.
Load your license file
When the activation screen prompts you to activate this device, load the .dslic file:
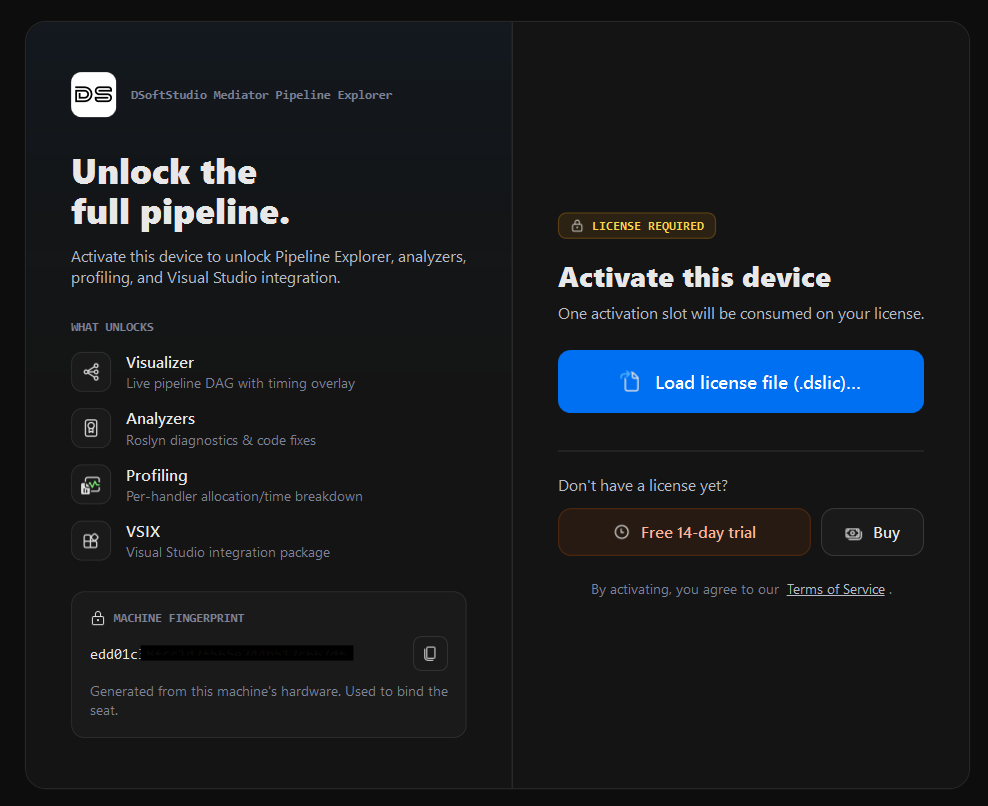
.dslic license file you received, or open the Pricing page to start a subscription or trial. Each activation consumes one seat, bound to this machine.- Visual Studio Code — Command Palette (
Ctrl+Shift+P/Cmd+Shift+P) → Mediator: License Status → Load license file (.dslic)… → select your file. - Visual Studio — View → Other Windows → Mediator Pipeline Explorer → on the activation screen, Load license file (.dslic)… → select your file.
The activation screen also links to the Pricing page (to subscribe or start a trial) and the customer portal (to manage seats or move a seat to another machine).
Your license persists across IDE restarts. See Troubleshooting: activation failed if activation does not complete.
Uninstalling
Visual Studio Code
code --uninstall-extension DSoftStudio.mediator-pipeline-explorer
Or remove it from the Extensions view.
Visual Studio
Open Extensions → Manage Extensions → Installed, locate DSoftStudio Mediator Pipeline Explorer, click Uninstall, and restart Visual Studio when prompted.
The license token is removed automatically when the extension is uninstalled. To preserve it for a future install, copy it from settings (VS Code) or the activation flyout (Visual Studio) before uninstalling.
Next steps
- Quick Start — Your first solution scan, profiling session, and source navigation in five minutes.